HOW TO CONNECT A MICROPHONE TO YOUR COMPUTER
Getting Started (1)
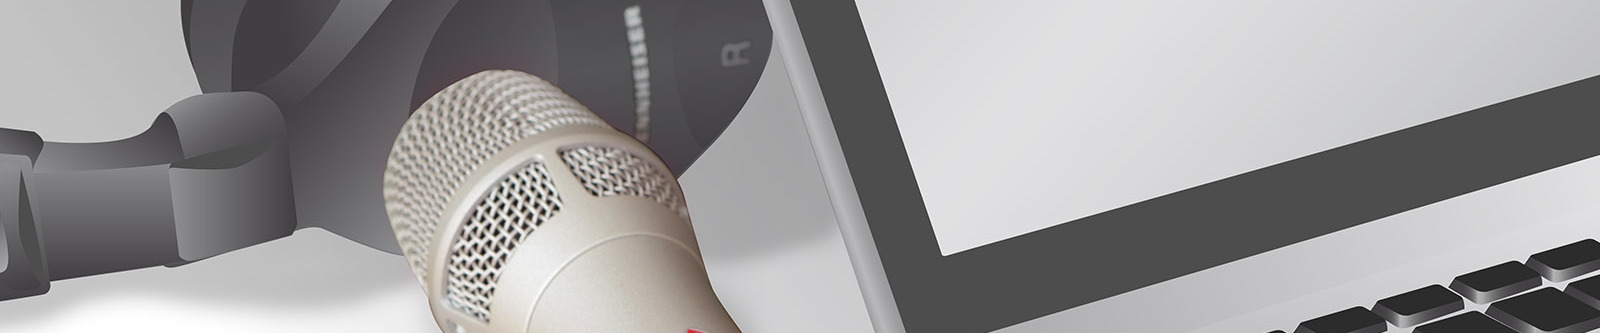
HOW TO CONNECT A MICROPHONE TO YOUR COMPUTER
As a home studio novice, you may wonder how to plug a microphone into your Mac or PC in order to make your own recordings. Here’s all you need to know!
HELP, DIFFERENT PLUGS!
The first thing you’ve probably noticed is that microphones come with a large three pin output plug unlike anything you’ll find on a laptop or desktop computer. The good news is that there are mic to USB adapters. The bad news is that this seemingly simple solution won’t unlock the true potential of your microphone (see box “USB microphones and USB adapters”).
Microphone technology is much older than today’s computers. Microphones produce an analog output signal, and usually their output levels are quite low. Also, condenser microphones, which are considered the superior type for studio recording, require external power.
So what we need is this:
- a power source for the microphone to operate,
- a preamp to amplify its low output signal to a more healthy level,
- an analog-to-digital converter to turn the analog signal into bits and bytes,
- some kind of digital interface (such as USB, FireWire, Thunderbolt) to deliver those bits and bytes to your computer.
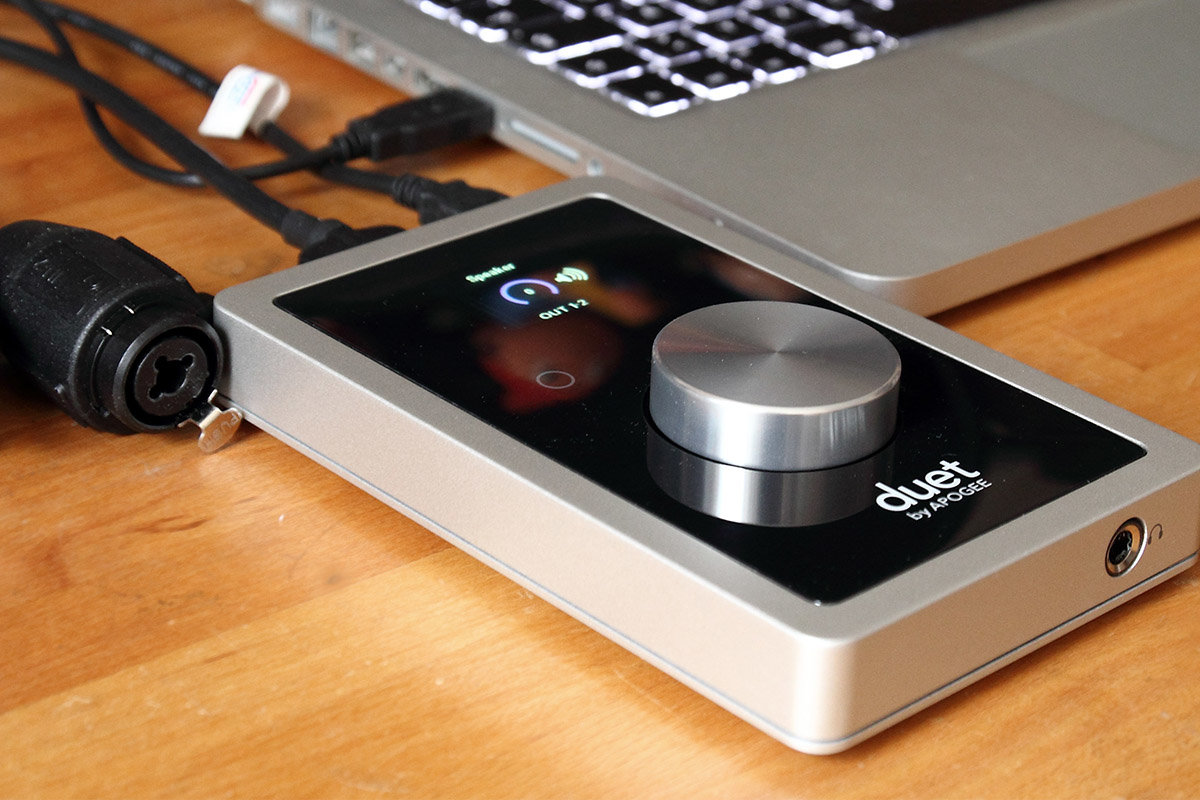
GET AN AUDIO INTERFACE!
Luckily, there are devices that cover all of those requirements, and then some. These devices are called audio interfaces and are offered by numerous manufacturers. You won’t find them in most computer stores, but you can buy them online or locally from any retailer of musical instruments.
Stay away from the cheapest models; 200 dollars/euros is about the minimum for a decent audio interface. Good ones, which offer superior sound and better quality overall, start at about 400-500 dollars/euros.
Here’s a checklist:
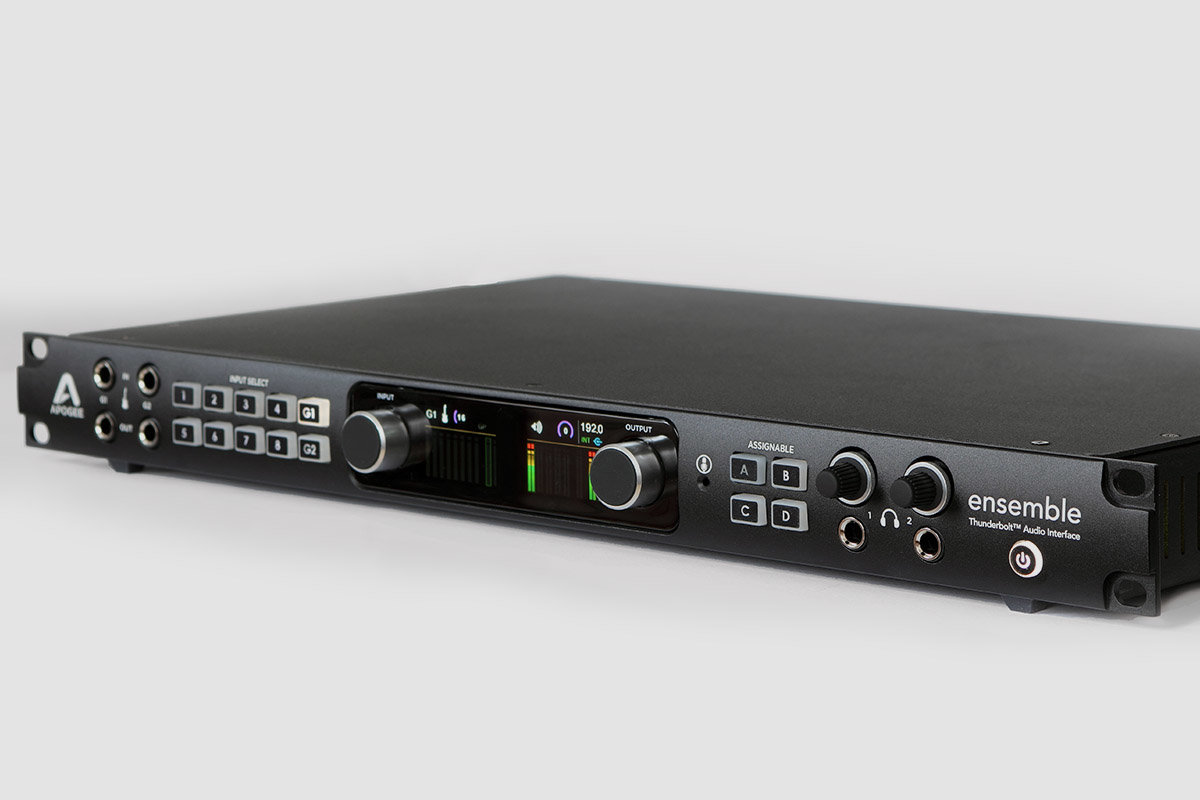
- At least one XLR microphone input; for stereo recordings you obviously need two.
- Phantom power (often labeled “P48” or “48V”). This is a way of powering condenser microphones from the microphone input. The beauty of this solution (a Neumann invention) is that it does not require any additional leads but uses normal XLR cables. Also, phantom power does not affect dynamic microphones that do not require external power.
- Additional inputs for line signals and instrument signals. Obviously, you don’t need those to make microphone recordings, but they’re very useful to have. You need line inputs for synthesizers, drum machines and other equipment with a medium to high output level. Instrument inputs are useful for guitars and basses, if you want to record the “bare” signal (which sounds somewhat sterile) or use amp modeling software.
- One or two headphone outs. When you record overdubs, i.e. add additional instruments or vocals to the tracks you’ve already recorded, you must use headphones and mute your speakers to avoid crosstalk.
- Monitor outs for your speakers and a volume knob on the front panel. Studio monitors (including inexpensive ones for home studio use) are powered speakers, i.e. they come with built in amplifiers. However, they usually come without a volume control. You can only control the loudness by attenuating the incoming signal. That’s what the volume knob on your audio interface is for. If your audio interface comes without monitor outputs and a volume knob, you have to get an external monitor controller at additional cost.
- Make sure your audio interface comes with a digital port (such as USB) that is compatible with your computer. Also check the system requirements. Most audio interfaces require a dedicated driver to be installed on your system. So, before you buy, visit the manufacturer’s website to see if there is a driver version for your operating system.
WHICH COMPUTER INTERFACE IS BEST FOR YOU?
USB 2.0 is the most common interface to add peripherals to both Windows and Macintosh computers. USB 2.0 is not the fastest protocol, but its bandwidth is sufficient for small to medium sized interfaces.
Thunderbolt is very fast protocol, but is common only on the Macintosh platform. Also, Thunderbolt is a fairly expensive technology. Just a cable is 40-50 dollars/euros, and Thunderbolt audio interfaces usually come without a cable.
FireWire is outdated and not recommended for new purchases.
USB 3.0 interfaces are only beginning to emerge. USB 3.0 is much faster than USB 2.0, but there may be compatibility problems, since it’s a fairly new technology (for audio interfaces; USB 3.0 hard drives have been around for some years)
If you’re unsure what’s best for you, get a USB 2.0 interface. These are by far the most common, and also the most cost effective models.
Please be aware that USB 2.0 audio interfaces do not always work well on USB 3.0 computer ports (which usually have a blue plastic insert). Theoretically, there should be backwards compatibility, but in practice that’s not always the case, at least on the Windows platform. There are usually no problems with USB 3.0 ports on Macintosh computers.
A note on bus powered audio interfaces: Some audio interfaces come without a wall plug or external PSU, they draw all the power they need from the computer they’re connected to. This is called “bus power.”
Bus powering seems like a convenient solution, but it does have some drawbacks: Bus power, especially on USB 2.0 interfaces, does not deliver very much energy. Therefore, lowest power consumption is of highest priority – often at the cost of audio quality.
Also, bus powered audio interfaces rarely deliver true P48 phantom power. Quite often, the voltage is too low or the available current insufficient to power a condenser microphone properly, which could result in increased noise and/or reduced audio quality. Therefore, we recommend getting an audio interface with its own power supply.
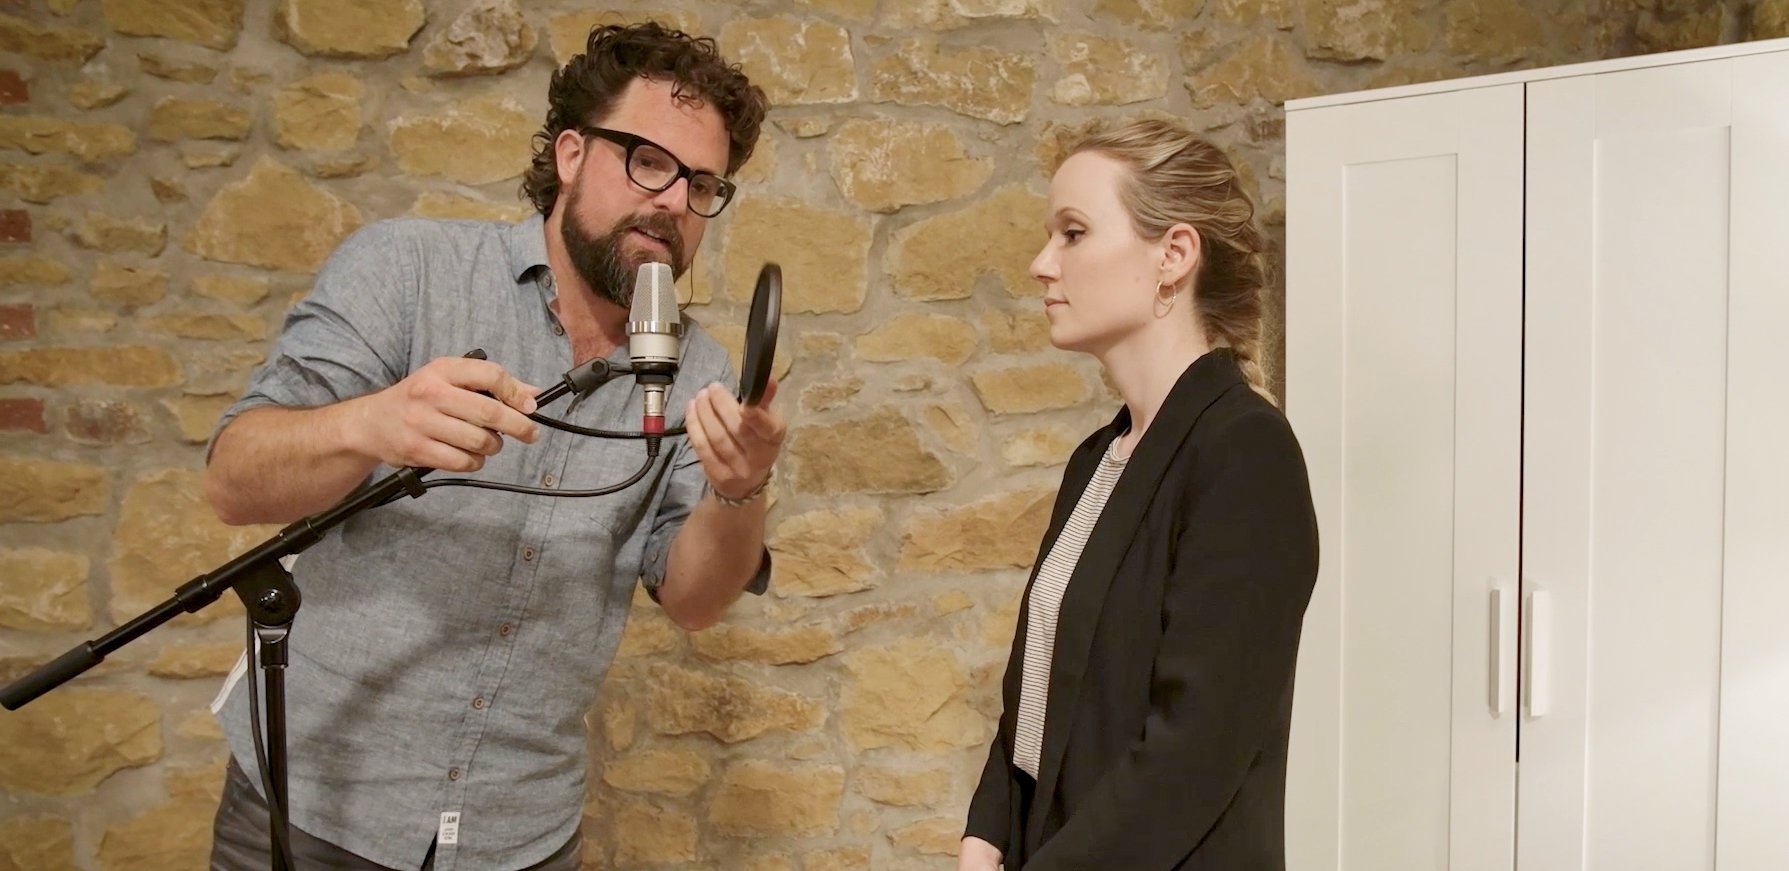
So now you have a microphone and an audio interface. Learn how to connect the two in our tutorial “How to Connect Your Microphone to an Audio Interface”
USB MICROPHONES AND USB ADAPTERS
You may seen microphones that already come with a USB output connector. These devices consist of a microphone with an built-in USB audio interface. This seems like an easy solution. However, such USB microphones do not deliver studio grade audio quality. The pricing reflects that. A USB microphone usually costs 100-200 dollars/euros. That’s less than a good studio microphone and also less than a good audio interface. So neither the microphone itself nor the integrated audio interface can be of very high quality.
USB microphones are designed for simple tasks such as podcasts, but they’re of little use for more sophisticated recording. For instance, two USB microphones cannot be used for stereo recording, as recording software usually allows for only one driver. And even if you managed to overcome this obstacle (e.g. by creating an “aggregate device”) the digital clocks of both USB microphones wouldn’t be synced, which, would eventually produce an offset between both channels. Monitoring, too, is insufficient. When recording overdubs, you need to hear the already recorded tracks plus the source you are going to record. Some USB microphones address this problem by adding a headphone output. But you still couldn’t record more than one source. Also, you’ll have to reconfigure your entire setup for listening via speakers.
The market also offers some microphone to USB adapters. This is a better solution in that it allows you to use a high quality microphone. But it still won’t unlock the full potential of a high quality microphone for much of the same reasons described above: stereo recording is pretty much impossible, monitoring is limited, and the sound quality is compromised. Technically, a microphone to USB adapter is a dedicated audio interface with limited capabilities, and at prices around 100 dollars/euros, you shouldn’t expect studio quality.

Getting Started (2)
HOW TO CONNECT YOUR MICROPHONE TO AN AUDIO INTERFACE
Recording Workshops
The first Recording
Recording Workshops
Using your Audio Interface