HOW TO SET UP A SESSION AND MAKE A HEADPHONE MIX FOR THE SINGER
Recording vocals in your home studio (1)
VOCAL RECORDING SETTING: HOW TO SET UP A SESSION AND MAKE A HEADPHONE MIX FOR THE SINGER
Learn how to build a vocal recording setup and create a clean, balanced headphone mix for the singer — step-by-step and easy to follow.
- How to position your mic and pop filter for clean vocals
- How to set preamp gain and avoid clipping
- How to create a comfortable, inspiring headphone mix for the singer.
Neumann & award-winning filmmaker Geert Verdickt show you how to set up a session and make a headphone mix for the singer. Follow us on YouTube for more Videos!
Presentation, Concept, Art Direction: Geert Verdickt
Script: Alphonse Gustafson
Vocals: Yaelle Cinkey
Camera, D.o.p.: Igor Gaasbeek
Camera Assistant: Maxime Lahousse
Sound Engineer: Reinhoud Maes
Motion Graphics Designer: Kim Vanbeckevoort
Recording & Mix Engineer: Sebastian Schmitz (Portfolio Manager Microphones / Neumann)
Location: Watt Matters Studio, Bielefeld/Germany
Vocal Recording Setup: Transcript of This Lesson
[00:00:00] (Music plays)
[00:00:12] Vocals. What could be more expressive than the human voice? One small phrase, one word, one note is enough for us to recognize the singer.
[00:00:24] (female singer sings)
[00:00:29] And when the song is over, what we remember most is the melody and the lyrics. And the singer's voice. The lead vocal is the very essence of the song.
[00:00:47] Welcome to the Neumann Home Studio Academy. In this tutorial series, we're going to show you how to record great vocals at home. So, let's first have a look at everything you need to get started.
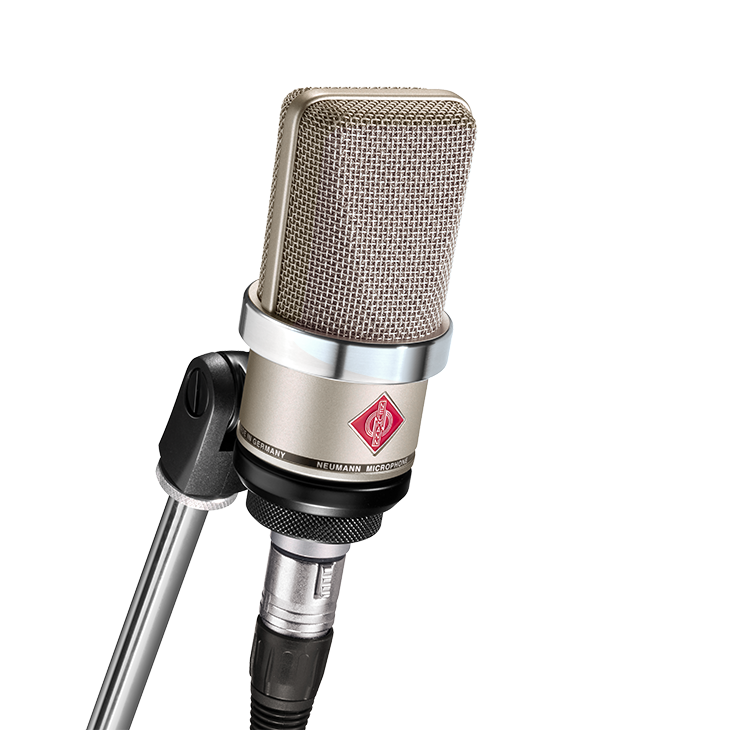
[00:01:01] Obviously, you will need a decent microphone. For now, we've selected the Neumann TLM 103, which is a well-known studio standard. But we'll talk more about this and other microphones in the following episodes.
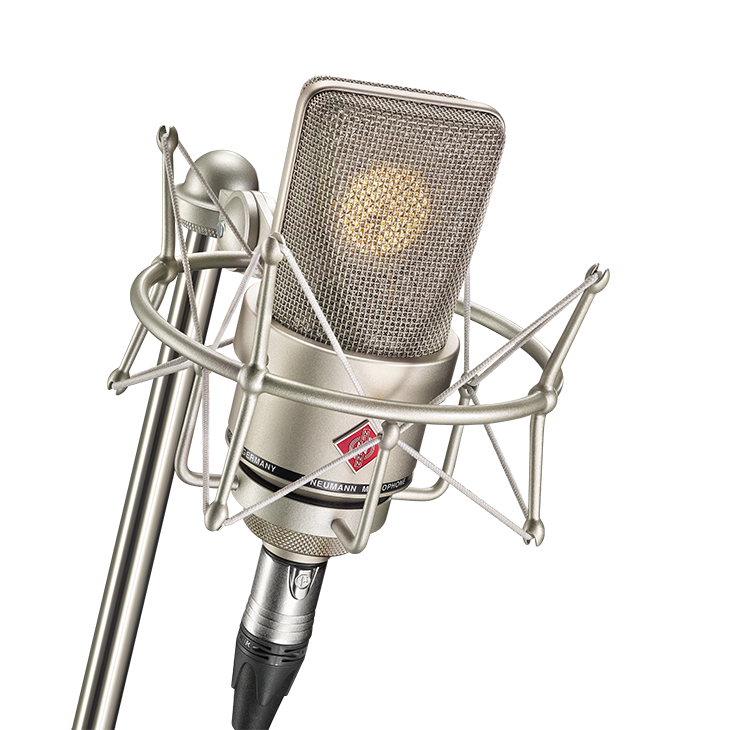
[00:01:17] A microphone stand is the next thing you'll need. Studio mics tend to be heavier than stage microphones, so get a solid one that can handle the extra weight. A shock mount is optional, but it really does help to keep rumble away from your microphone. By the way, studio mics are much more sensitive to rumble than stage microphones.
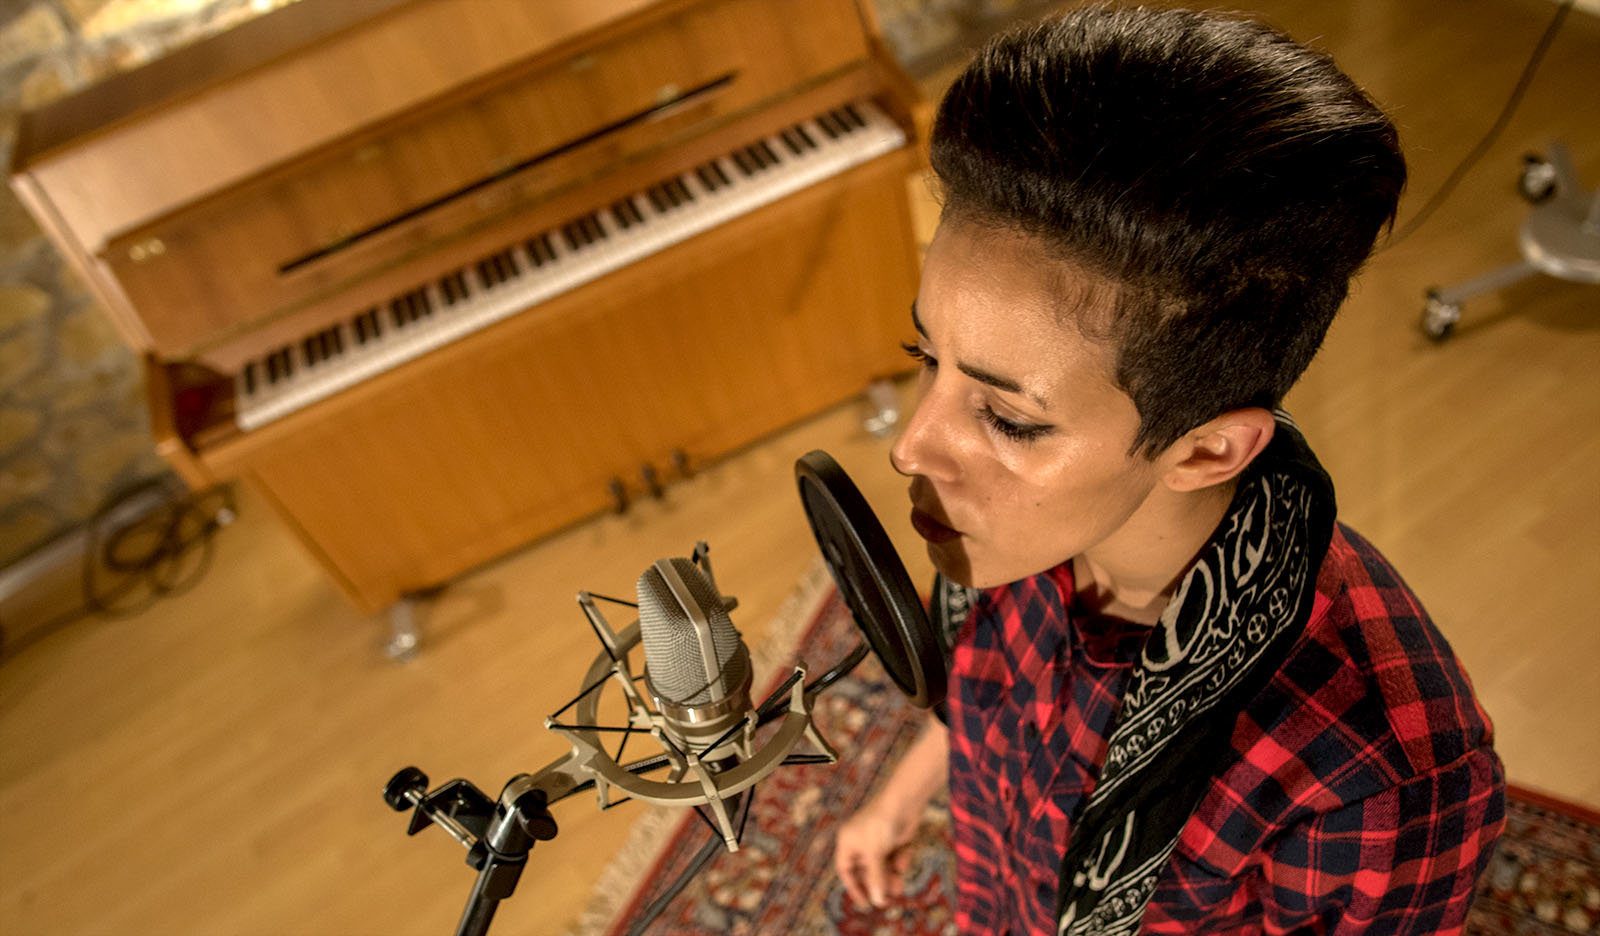
[00:01:40] And this, this is a pop shield, or a pop filter, or a pop screen. This is to protect the mic from plosives. Some speech consonants, like P's and B's, produce little air blasts. And when they hit the capsule, it sounds like an explosion. You don't want that in your recording.
[00:02:03] And this is very important as well. Decent headphones are a must. When you record with a microphone, you must turn off the loudspeakers to avoid feedback. For the same reasons, you better get closed-back headphones, because open-back headphones feed back into the microphone when you stand as close as the singer does.
[00:02:24] Okay, and last but not least, you will need a room that is quiet and that sounds good. Make sure there's not too much street noise or fan noise from your computer. And if you want a direct, in-your-face vocal sound, look for a room that sounds reasonably dry. Bathrooms are usually too ambient, but a bedroom or a living room is often good enough.
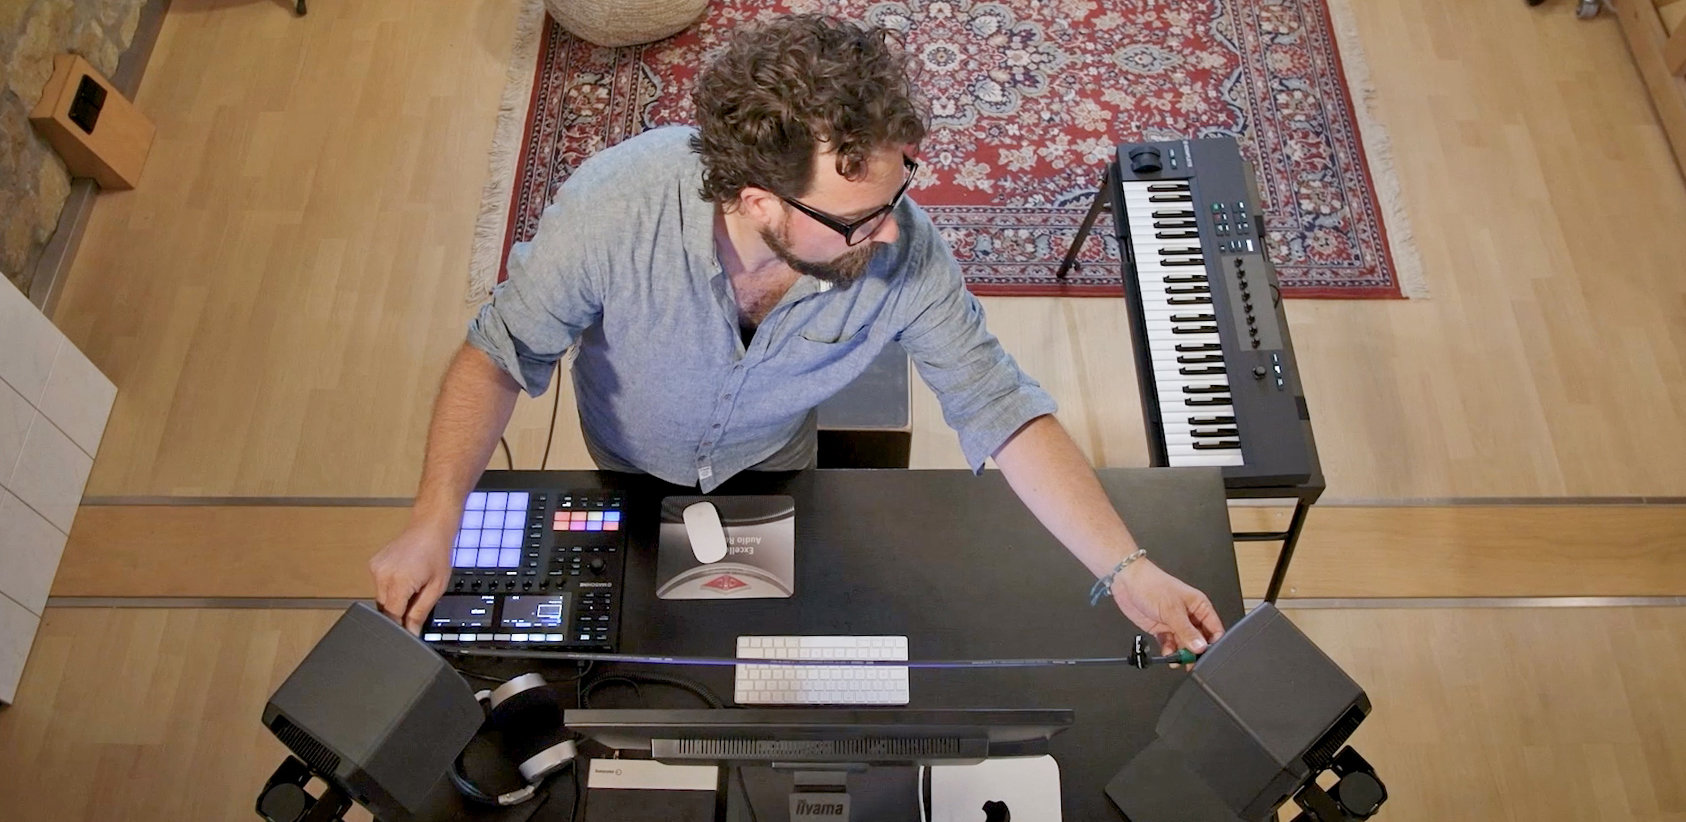
[00:02:48] Okay, now that we've got all the ingredients, let's get the singer in and let's set up a vocal session. Find a good place for your mic stand. Avoid room corners and reflective surfaces. But don't put it in the exact center of the room either.
[00:03:04] (female singer sings)
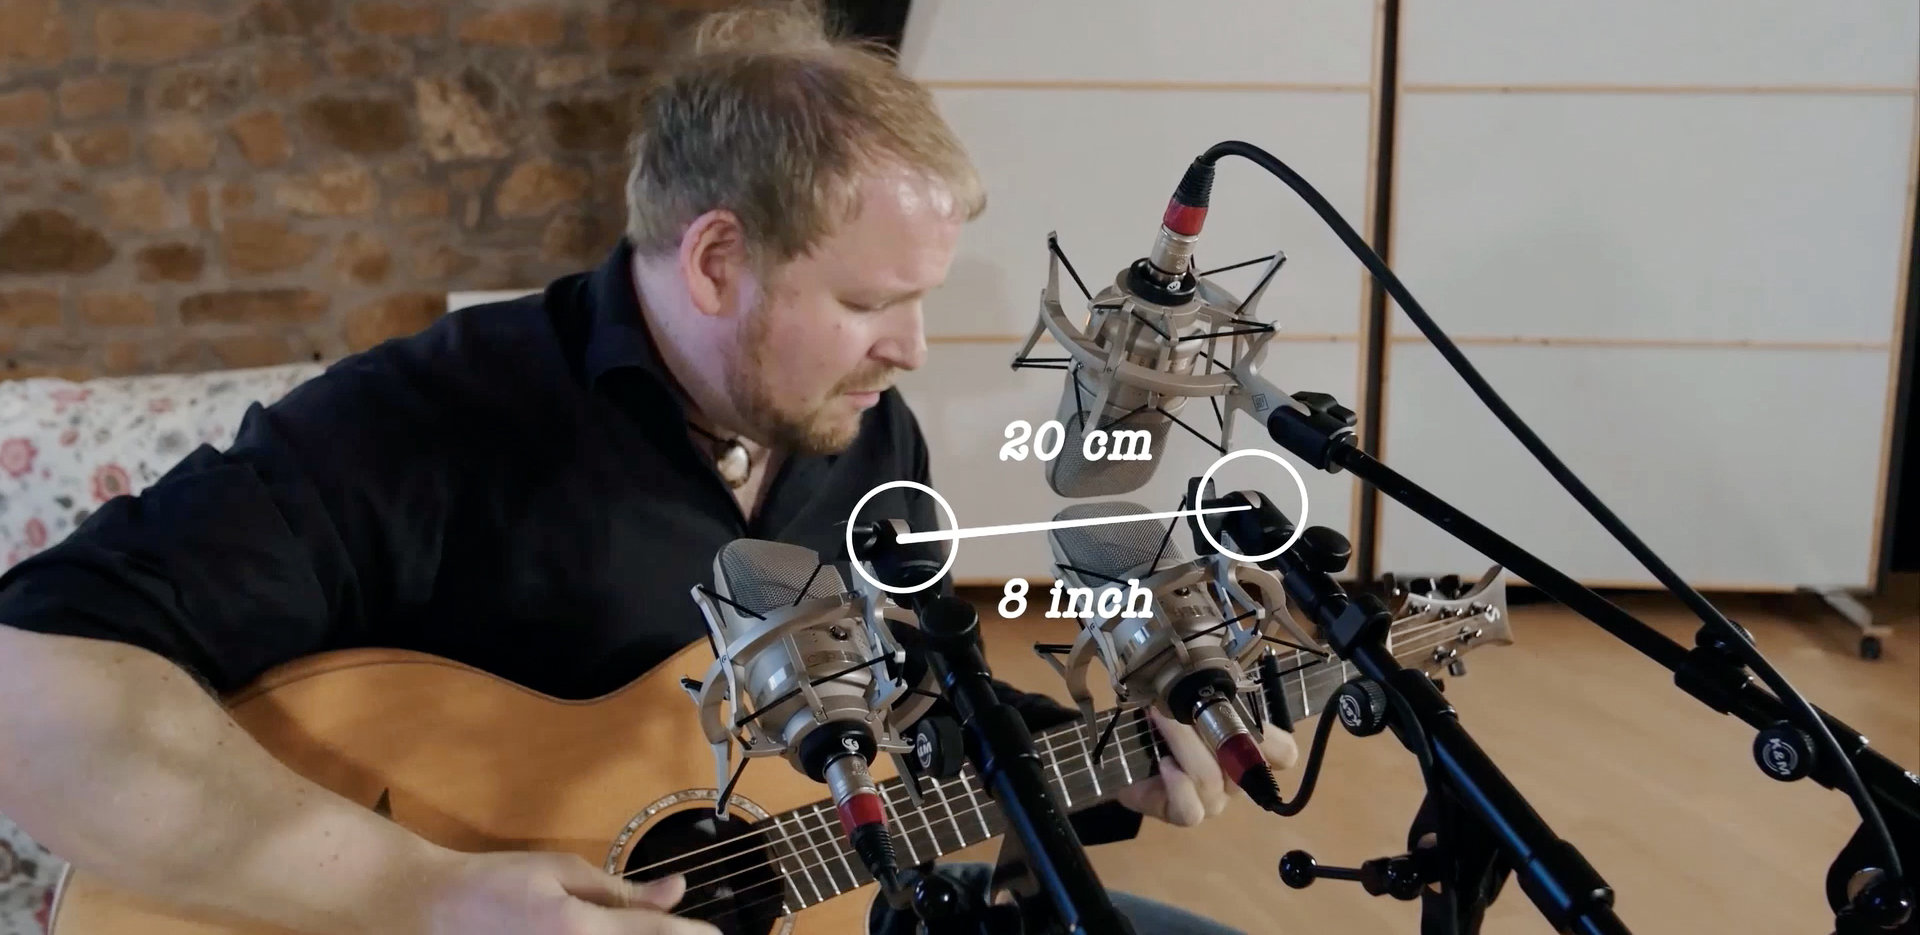
[00:03:17] Aim the microphone at the mouth of the singer. You want to shoot at 8 to 12 inches, which is about 20 to 30 centimeters. Use the pop shield to ensure a minimal distance. Angle the pop shield a bit so it is not parallel to the microphone capsule.
[00:03:36] (female singer sings)
[00:03:40] Also make sure there's nothing behind your microphone. Even a simple sheet of paper can audibly change the sound of your voice. If a lyric sheet is required, it's best to mount the mic upside down above the music stand and aim it down at the singer's mouth. You'll need a sturdy microphone stand for that, preferably one with a heavy round base.
[00:04:03] (female singer sings)
[00:04:17] And a glass of water. Yes, please. Okay. And have a place ready for the singer's headphones. Remind the singer to never place their headphones on the microphone when they're done. Never place your headphones on the microphone when you're done. Okay. There you go.
[00:04:38] The ensuing feedback is terrifying and can damage your studio speakers, and what's worse, could damage your ears. Yes, it could. And for now, cover your ears, because we're going to show you what happens if you do put headphones on a microphone. Okay? Careful. Here we go.
[00:05:01] (loud feedback)
[00:05:06] Okay, you don't want this to happen, all right? So be very careful.
[00:05:13] Next, you would like to start working on the monitor mix for your singer. And the first thing you'd like to check is the phase of the microphone signal that you send to the headphones. It's something that you can only hear when you're actually wearing the headphones and talking or singing into the microphone. And you will, you will notice, just, just try it. You'll notice that one out of the two positions of the phase switch will give you a more direct sound. That's the position you would like to choose.
[00:05:49] The next step is to set the preamp gain. A lot of people record too hot. There's really no need to max out the converters.
[00:05:58] (female singer sings)
[00:06:04] When you record at 24 bits, which you should, you've got plenty of resolution. So leave about 10 dB headroom above the loudest peaks.
[00:06:12] (female singer sings)
[00:06:19] And you can always turn up the signal afterwards in your recording software. But you can never undo any distortion that happens when you record too hot and when your converters clip, right? So if your singer wants more volume, go to the headphones level. Don't go to the preamp gain.
[00:06:43] And also keep in mind that singers tend to hold back a little bit during a sound check. And when the actual recording is happening, they get into the mood, and they tend to sing a bit louder than during the sound check. So always try to review your gain settings after your first take.
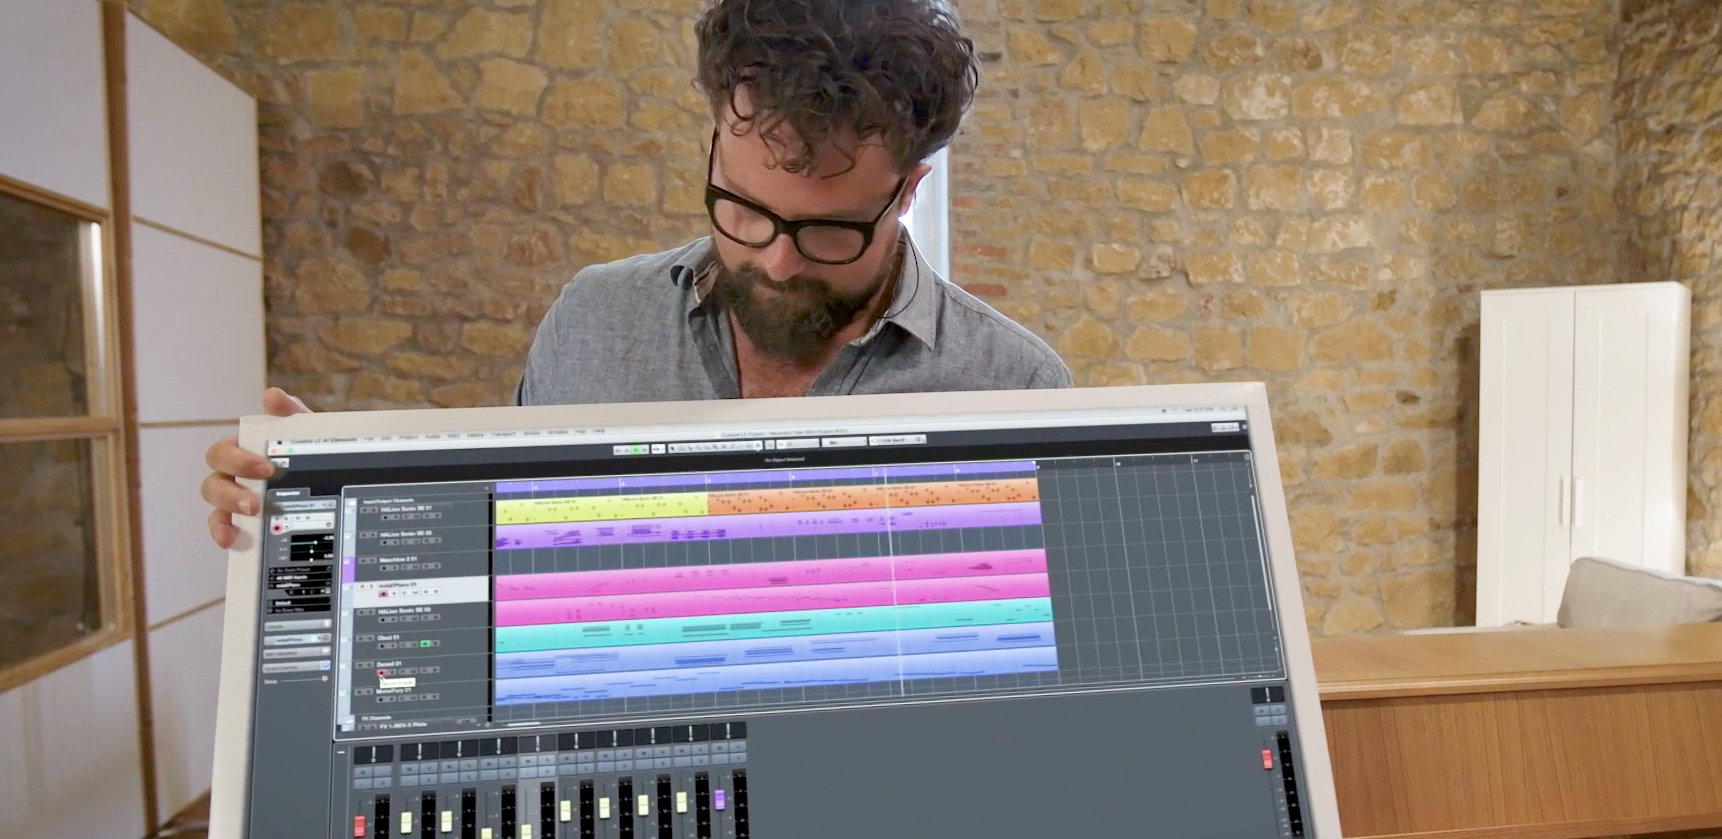
[0LAG-00:07:05] Obviously, the singer must hear the other tracks to sing along to. So, the headphone feed must be a mix of the computer signal and the microphone signal. You can accomplish this either with a software mixer of your audio interface or with a small hardware mixer.
[00:07:24] (female singer sings)
[00:08:04] Take your time to make the monitor mix perfect. It is essential for a great performance.
[00:08:12] Okay. So much for this episode. Next time we will be looking at what makes a great vocal microphone. Until then, enjoy recording and we'll see you soon at the Neumann Home Studio Academy. Salut.
[00:08:32] (music plays, Neumann Home Studio Academy logo)
Step-by-Step Guide: Singing Studio Setup Essentials and Headphone Mix Basics
Now that you’ve seen the full video and have access to the transcript, let’s walk through the process step by step.
The following guide breaks down what you need for the best vocal recording setup into clear, practical actions you can follow in your own home studio.
1. Prepare Your Vocal Recording Setup
Whether you are working in a professional environment, or you are building a home studio setup for singing, there a few preparations you need to do for recording clean vocals:
- Choose a quiet room with as little noise and reverb as possible.
- Avoid corners and highly sound-reflective surfaces.
- Set up your microphone on a sturdy stand with a shock mount and pop filter.
- Use closed-back headphones to prevent sound leakage.
- When you record with a microphone, you must turn off the loudspeakers to avoid feedback.
2. Position the Microphone Correctly
- Aim the (capsule of the) microphone at the singer’s mouth.
- Maintain a distance of 20–30 cm (8–12 inches).
- Angle the pop shield slightly so it isn’t parallel to the capsule (to avoid plosives).
- Keep the space behind the mic clear — even a sheet of paper can affect the tone.
- If lyrics are needed, mount the mic upside down above the music stand and aim downward.
3. Check Microphone Phase in the Headphones
For the singer to feel comfortable and connected to the mix, verify that the microphone phase is set correctly:
- Put on the headphones and sing or speak.
- Flip the phase switch (if available).
- Choose the position that sounds more direct and focused.
4. Set the Correct Preamp Gain
To keep your recording setup for singing clean and distortion-free, make sure the preamp gain is set correctly before you begin:
- Ask the singer to perform their loudest part.
- Leave about 10 dBfs of headroom above the highest peaks.
- 24-bit recording provides plenty of resolution.
- If the singer wants more volume, adjust the headphone level, not the preamp gain.
- Review gain after the first take—singers usually sing louder during the real takes.
5. Build the Headphone Mix To Get the Best out of Your Home Studio Setup for Singing
For a confident performance, your recording setup for singing should include a headphone mix where the vocalist hears themselves clearly without strain.
- The mix must include the backing track/computer signal and the live microphone signal
- Use your interface’s software mixer or a hardware mixer.
- Ensure that the singer hears themselves clearly and without any strain.
6. Add Optional Reverb and Fine-Tune for Performance
This final step in your recording setup for singing focuses on adding subtle reverb and fine-tuning the headphone mix for better performance.
- Ask the singer how the headphone mix feels. Many singers perform better with a bit of reverb in their headphone mix. This reverb should be monitor-only and NOT recorded into the vocal track.
- Adjust balance, vocal level, and reverb to your vocalist’s taste but only adjust it lightly—enough for comfort, not enough to mask pitch.
- Take your time. A comfortable mix directly improves performance.
A Strong Start for Your Vocal Recording Setup
Setting up a vocal recording setup at home becomes much easier when you follow a clear workflow. With proper microphone placement, accurate gain staging and a headphone mix that supports the singer, you create the ideal conditions for expressive, consistent vocal takes.
Take your time with each step. Comfort and clarity directly shape the performance.
Want to learn more? In Part 2 “The Perfect Vocal Mic”, we’ll explore what makes a great vocal microphone and how to choose the right one for your home studio.