SO KLINGEN VERSCHIEDENE GESANGSMIKROS FÜRS HOMESTUDIO
Gesangsaufnahmen im Homestudio (3)
So richtest du eine Session ein und erstellst einen Kopfhörermix für Sänger:innen
Lerne Schritt für Schritt, wie du ein Vocal-Recording-Setup aufbaust und einen klaren, ausgewogenen Kopfhörermix für Sänger:innen erstellst – einfach erklärt und leicht umzusetzen.
In diesem Video lernst du:
- Wie du Mikrofon und Popschutz für saubere Gesangsaufnahmen positionierst
- Wie du den Preamp-Gain korrekt einstellst und Clipping vermeidest
- Wie du einen komfortablen, inspirierenden Kopfhörermix für Sänger:innen erstellst
Neumann und der preisgekrönte Filmemacher Geert Verdickt zeigen dir, wie du eine Session einrichtest und einen Kopfhörermix für Sänger:innen erstellst.
Wenn du lieber liest oder schriftlichen Zugang zum gesprochenen Inhalt benötigst, findest du das vollständige Transkript des Videos weiter unten.
Vocal-Recording-Setup: Transkript dieser Lektion
[00:00:00] (Music plays)
[00:00:12] Vocals. What could be more expressive than the human voice? One small phrase, one word, one note is enough for us to recognize the singer.
[00:00:24] (female singer sings)
[00:00:29] And when the song is over, what we remember most is the melody and the lyrics. And the singer's voice. The lead vocal is the very essence of the song.
[00:00:47] Welcome to the Neumann Home Studio Academy. In this tutorial series, we're going to show you how to record great vocals at home. So, let's first have a look at everything you need to get started.
[00:01:01] Obviously, you will need a decent microphone. For now, we've selected the Neumann TLM 103, which is a well-known studio standard. But we'll talk more about this and other microphones in the following episodes.
[00:01:17] A microphone stand is the next thing you'll need. Studio mics tend to be heavier than stage microphones, so get a solid one that can handle the extra weight. A shock mount is optional, but it really does help to keep rumble away from your microphone. By the way, studio mics are much more sensitive to rumble than stage microphones.
[00:01:40] And this, this is a pop shield, or a pop filter, or a pop screen. This is to protect the mic from plosives. Some speech consonants, like P's and B's, produce little air blasts. And when they hit the capsule, it sounds like an explosion. You don't want that in your recording.
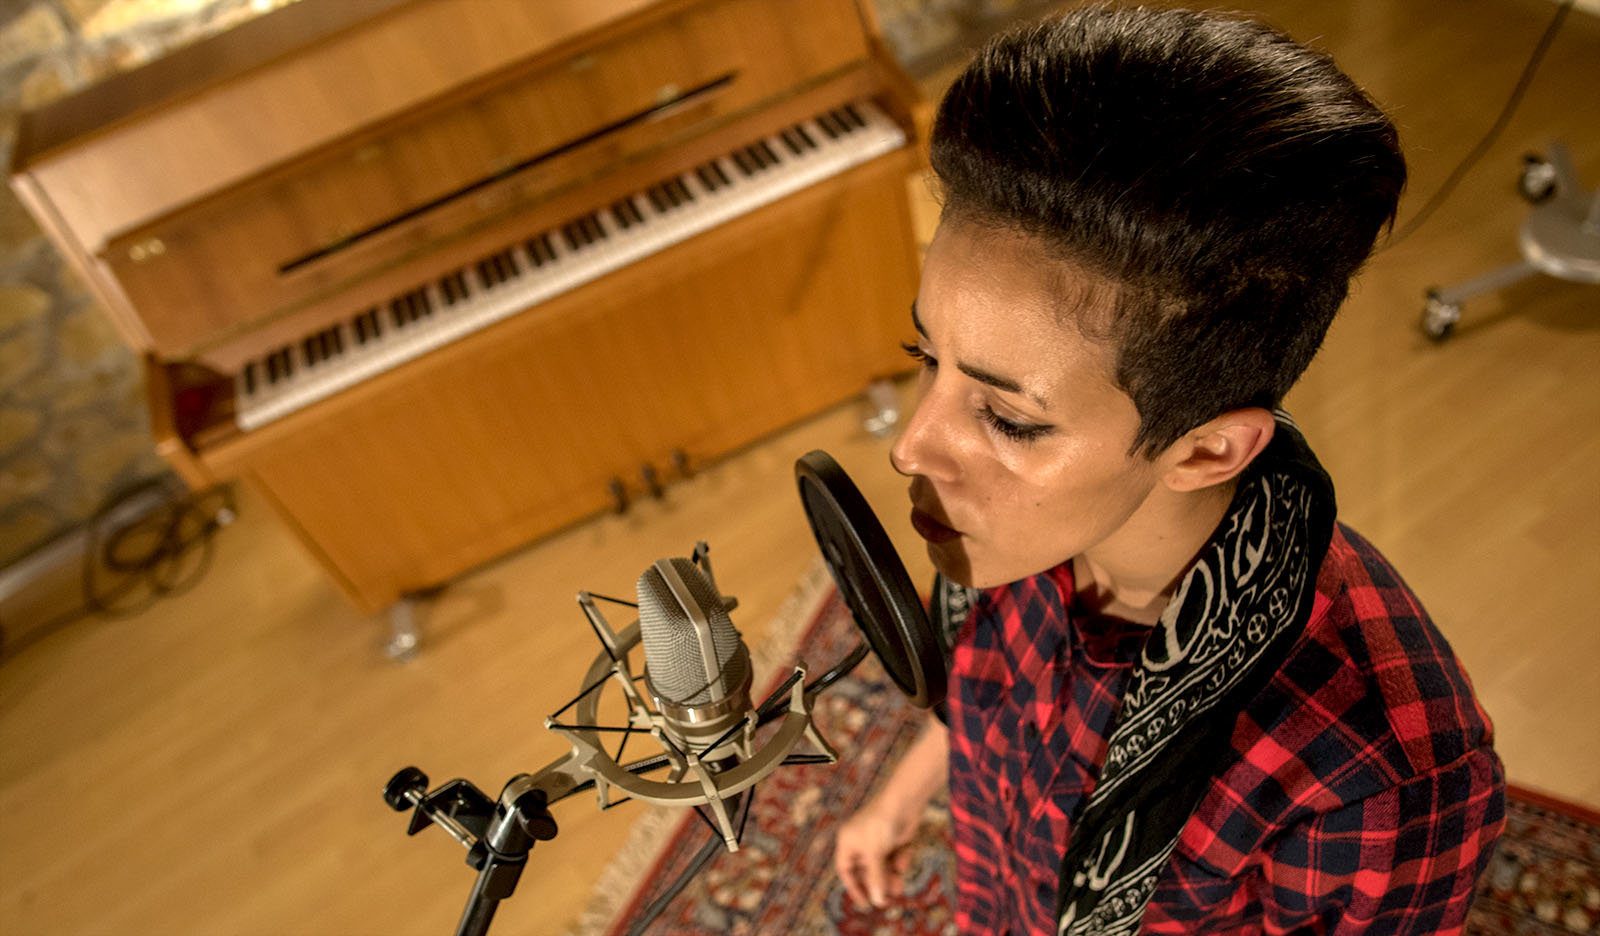
[00:02:03] And this is very important as well. Decent headphones are a must. When you record with a microphone, you must turn off the loudspeakers to avoid feedback. For the same reasons, you better get closed-back headphones, because open-back headphones feed back into the microphone when you stand as close as the singer does.
[00:02:24] Okay, and last but not least, you will need a room that is quiet and that sounds good. Make sure there's not too much street noise or fan noise from your computer. And if you want a direct, in-your-face vocal sound, look for a room that sounds reasonably dry. Bathrooms are usually too ambient, but a bedroom or a living room is often good enough.
[00:02:48] Okay, now that we've got all the ingredients, let's get the singer in and let's set up a vocal session. Find a good place for your mic stand. Avoid room corners and reflective surfaces. But don't put it in the exact center of the room either.
[00:03:04] (female singer sings)
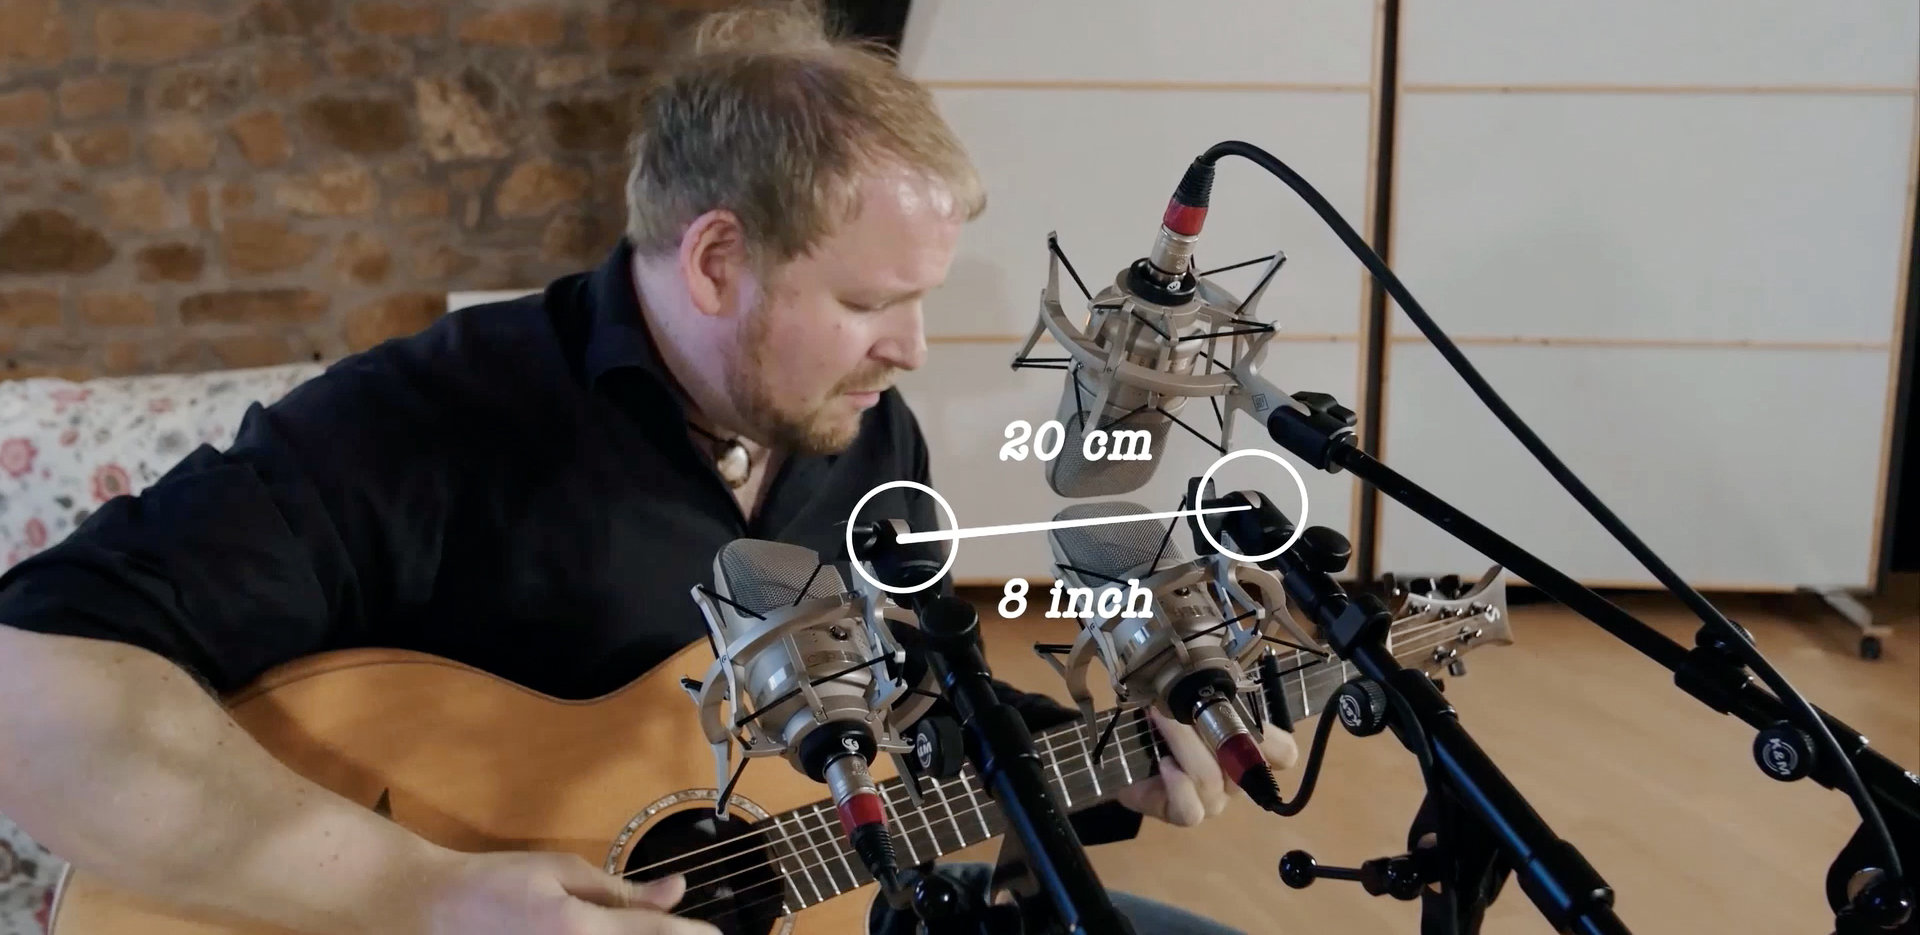
[00:03:17] Aim the microphone at the mouth of the singer. You want to shoot at 8 to 12 inches, which is about 20 to 30 centimeters. Use the pop shield to ensure a minimal distance. Angle the pop shield a bit so it is not parallel to the microphone capsule.
[00:03:36] (female singer sings)
[00:03:40] Also make sure there's nothing behind your microphone. Even a simple sheet of paper can audibly change the sound of your voice. If a lyric sheet is required, it's best to mount the mic upside down above the music stand and aim it down at the singer's mouth. You'll need a sturdy microphone stand for that, preferably one with a heavy round base.
[00:04:03] (female singer sings)
[00:04:17] And a glass of water. Yes, please. Okay. And have a place ready for the singer's headphones. Remind the singer to never place their headphones on the microphone when they're done. Never place your headphones on the microphone when you're done. Okay. There you go.
[00:04:38] The ensuing feedback is terrifying and can damage your studio speakers, and what's worse, could damage your ears. Yes, it could. And for now, cover your ears, because we're going to show you what happens if you do put headphones on a microphone. Okay? Careful. Here we go.
[00:05:01] (loud feedback)
[00:05:06] Okay, you don't want this to happen, all right? So be very careful.
[00:05:13] Next, you would like to start working on the monitor mix for your singer. And the first thing you'd like to check is the phase of the microphone signal that you send to the headphones. It's something that you can only hear when you're actually wearing the headphones and talking or singing into the microphone. And you will, you will notice, just, just try it. You'll notice that one out of the two positions of the phase switch will give you a more direct sound. That's the position you would like to choose.
[00:05:49] The next step is to set the preamp gain. A lot of people record too hot. There's really no need to max out the converters.
[00:05:58] (female singer sings)
[00:06:04] When you record at 24 bits, which you should, you've got plenty of resolution. So leave about 10 dB headroom above the loudest peaks.
[00:06:12] (female singer sings)
[00:06:19] And you can always turn up the signal afterwards in your recording software. But you can never undo any distortion that happens when you record too hot and when your converters clip, right? So if your singer wants more volume, go to the headphones level. Don't go to the preamp gain.
[00:06:43] And also keep in mind that singers tend to hold back a little bit during a sound check. And when the actual recording is happening, they get into the mood, and they tend to sing a bit louder than during the sound check. So always try to review your gain settings after your first take.
[0LAG-00:07:05] Obviously, the singer must hear the other tracks to sing along to. So, the headphone feed must be a mix of the computer signal and the microphone signal. You can accomplish this either with a software mixer of your audio interface or with a small hardware mixer.
[00:07:24] (female singer sings)
[00:08:04] Take your time to make the monitor mix perfect. It is essential for a great performance.
[00:08:12] Okay. So much for this episode. Next time we will be looking at what makes a great vocal microphone. Until then, enjoy recording and we'll see you soon at the Neumann Home Studio Academy. Salut.
[00:08:32] (music plays, Neumann Home Studio Academy logo)
Schritt-für-Schritt-Anleitung: Gesangsstudio-Setup & Grundlagen des Kopfhörermix
Nachdem du das komplette Video gesehen hast und Zugriff auf das Transkript hast, gehen wir den Prozess nun Schritt für Schritt durch.
Diese Anleitung zeigt dir praxisnah, was du für das beste Vocal-Recording-Setup brauchst – ideal für dein eigenes Home-Studio-Setup für Gesang.
1. Vorbereitung deines Vocal-Recording-Setups
Egal, ob du in einer professionellen Umgebung arbeitest oder ein Home-Studio-Setup für Gesang aufbaust – einige grundlegende Vorbereitungen sind entscheidend für saubere Gesangsaufnahmen:
- Wähle einen ruhigen Raum mit möglichst wenig Umgebungsgeräuschen und Nachhall
- Vermeide Ecken und stark schallreflektierende Oberflächen
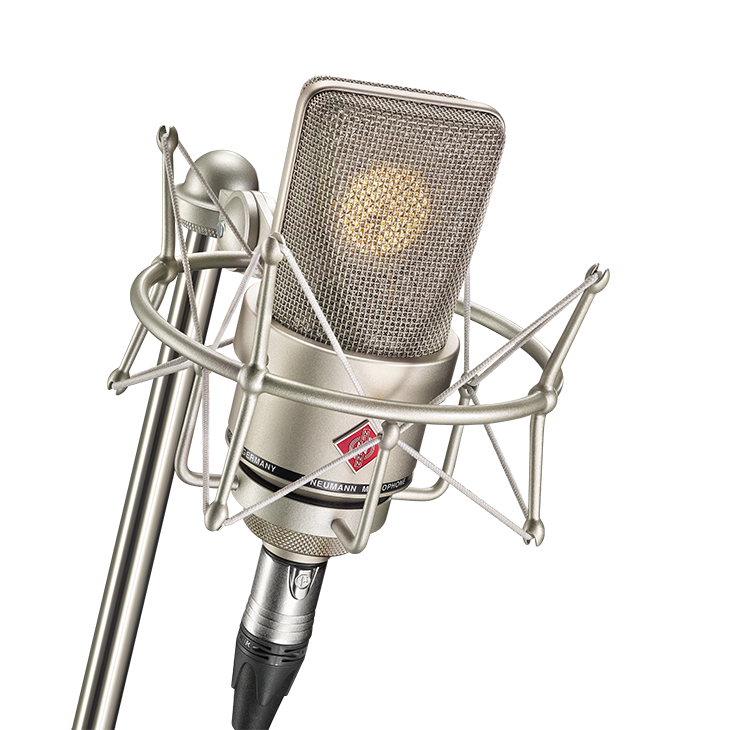
- Stelle das Mikrofon auf ein stabiles Stativ mit Spinne und Popschutz
- Verwende geschlossene Kopfhörer, um Übersprechen zu vermeiden
- Schalte beim Aufnehmen immer die Lautsprecher aus, um Feedback zu verhindern
TLM 102
Großer Sound im Kompaktformat: Neumanns preisgünstigstes Großmembranmikrofon
TLM 102- Echte Neumann-Qualität zu einem sehr erschwinglichen Preis
- Sehr niedriges Eigenrauschen
- Extrem Pegelfest
- Integrierter Popschirm
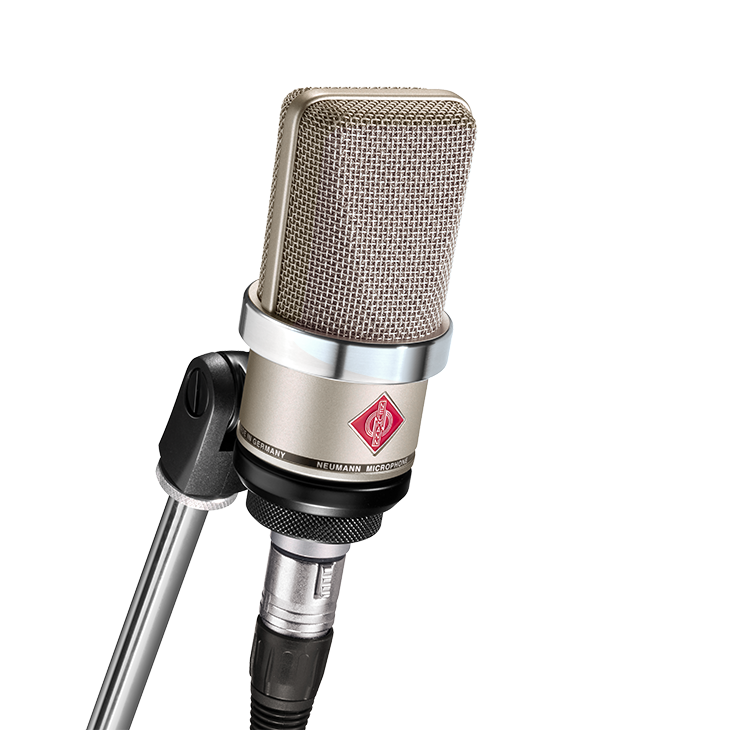
TLM 103
Ein moderner Studiostandard
TLM 103- Kapseldesign nach Vorbild des legendären U 87 Ai
- Gleichmäßige Nierencharakteristik
- Breite Präsenzanhebung für bessere Klangdefinition
- Extrem niedriges Eigenrauschen
2. Mikrofon richtig positionieren
- Richte die Mikrofonkapsel auf den Mund der Sängerin bzw. des Sängers.
- Halte einen Abstand von 20–30 cm (8–12 Zoll) ein.
- Platziere den Popschutz leicht angewinkelt, nicht parallel zur Kapsel (gegen Plosive).
- Halte den Bereich hinter dem Mikrofon frei – selbst Papier kann den Klang beeinflussen.
- Wenn ein Notenständer nötig ist: Mikrofon kopfüber oberhalb platzieren und nach unten ausrichten.
3. Mikrofonphase im Kopfhörer überprüfen
Damit sich Sänger:innen wohlfühlen und optimal mit dem Mix verbunden sind, solltest du die Mikrofonphase prüfen:
- Setze die Kopfhörer auf und sprich oder singe.
- Betätige den Phasenschalter (falls vorhanden).
- Wähle die Einstellung, die direkter und fokussierter klingt.
4. Den richtigen Preamp-Gain einstellen
Damit dein Recording-Setup für Gesang sauber und verzerrungsfrei bleibt, ist korrektes Gain-Staging entscheidend:
- Bitte die Sängerin oder den Sänger, die lauteste Passage zu singen.
- Lasse ca. 10 dBFS Headroom über den höchsten Peaks
24-Bit-Aufnahmen bieten ausreichend Dynamik und Auflösung. - Wenn mehr Lautstärke gewünscht wird, erhöhe den Kopfhörerpegel – nicht den Gain.
- Überprüfe den Gain nach dem ersten Take, da Sänger:innen oft lauter werden.
5. Kopfhörermix erstellen – das Beste aus deinem Home-Studio-Setup für Gesang herausholen
Für eine selbstbewusste Performance sollte dein Recording-Setup für Gesang einen Kopfhörermix enthalten, in dem sich die Sänger:innen klar und mühelos hören:
- Der Mix sollte Playback/DAW-Signal und Live-Mikrofonsignal enthalten.
- Nutze den Software-Mixer deines Interfaces oder einen Hardware-Mixer.
- Achte darauf, dass sich die Sänger:innen klar und ohne Anstrengung hören.
6. Optionalen Hall hinzufügen und den Mix feinjustieren
Der letzte Schritt deines Recording-Setups für Gesang dient der Feinabstimmung für eine bessere Performance:
- Frage die Sängerin oder den Sänger, wie sich der Kopfhörermix anfühlt
Viele performen besser mit etwas Hall im Kopfhörer. - Der Hall darf nur im Monitoring sein und nicht mit aufgenommen werden.
- Passe Lautstärke, Balance und Hall dezent an – Komfort statt Maskierung.
- Nimm dir Zeit: Ein angenehmer Mix verbessert die Performance spürbar.
Ein starker Start für dein Vocal-Recording-Setup
Ein Vocal-Recording-Setup im eigenen Zuhause wird deutlich einfacher, wenn du einem klaren Workflow folgst.
Mit korrekter Mikrofonplatzierung, sauberem Gain-Staging und einem unterstützenden Kopfhörermix schaffst du ideale Bedingungen für ausdrucksstarke und konstante Gesangsaufnahmen.
Nimm dir Zeit für jeden Schritt – Komfort und Klarheit formen die Performance direkt.
Möchtest du mehr lernen?
In Teil 2 „Das perfekte Vocal-Mikrofon“ zeigen wir dir, was ein großartiges Gesangsmikrofon ausmacht und wie du das richtige Modell für dein Home-Studio-Setup für Gesang auswählst.